Introduction to DIY Raspberry Pi Home Automation
Picture this: with just a few tweaks, a sprinkle of creativity, and a tiny yet mighty device called the Raspberry Pi, you could transform your house into a living, breathing smart home! Gone are the days when automation was only for tech elites. Now, it’s a realm open to DIY enthusiasts like you—whether you’re a curious beginner or a seasoned tinkerer.
Why Raspberry Pi is Your Perfect Partner in Home Automation
Think of the Raspberry Pi as the Swiss Army knife of DIY tech. This credit-card-sized computer packs a punch, letting you control lights, secure your home, or even brew your morning coffee at a tap—or through voice commands. Fancy, right?
What’s even better? It’s budget-friendly. With just a few additional components (and we’ll get to those soon), you’re looking at a fully tailored setup for a fraction of the cost of those pricey off-the-shelf systems.
What You Can Expect from This Journey
- Program your own custom routines—think motion sensors, temperature triggers, or both working together like magic.
- Learn to integrate popular platforms like Google Assistant or Amazon Alexa.
- Discover endless customization possibilities. Want a notification every time the dog sneaks onto the couch? Done!
This isn’t just about technology; it’s about crafting a smarter lifestyle that fits your unique needs. And trust me, once you dip your toes into the world of Raspberry Pi automation, there’s no turning back. The freedom to create is downright addictive!
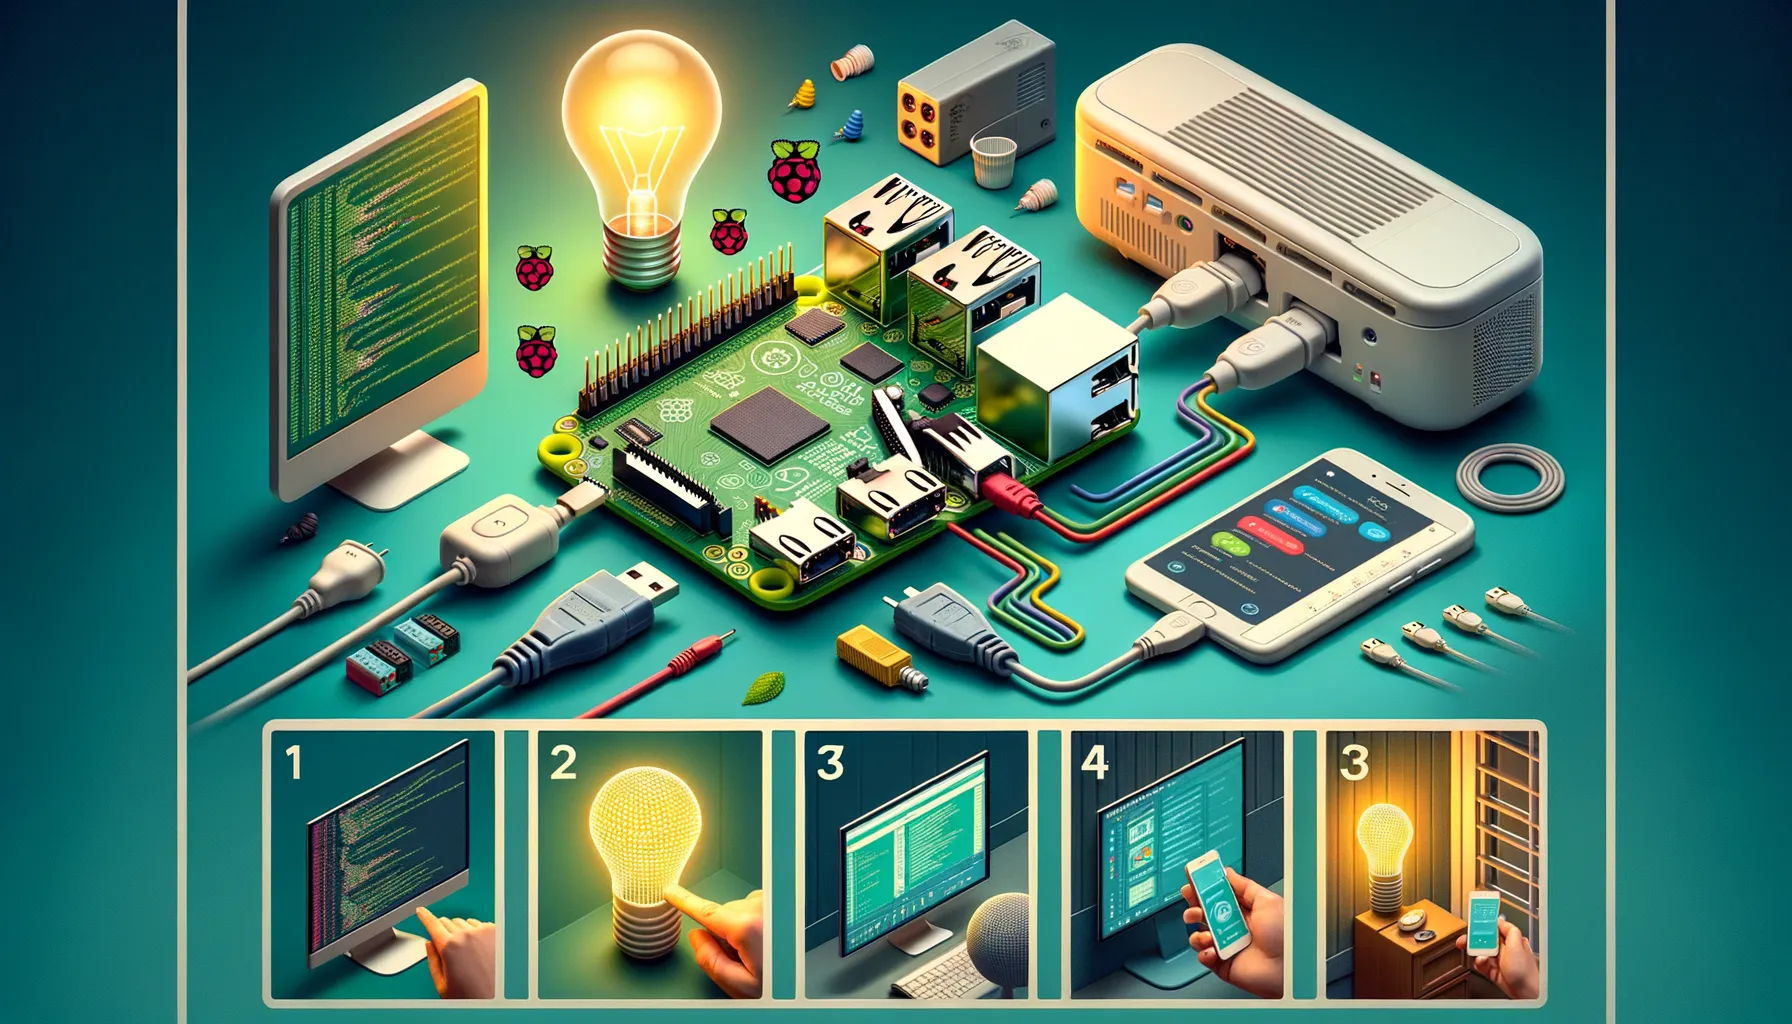
Essential Components for Building a Raspberry Pi Smart Home

What You’ll Need to Bring Your Smart Home to Life
Ready to turn your humble abode into a tech-savvy haven? Building a Raspberry Pi smart home is like assembling the ultimate toolbox for your daily life. Here are the essential components to get you started:
- Raspberry Pi Board: The heart and brain of your operation. Go for a Raspberry Pi 4 (Model B), as it combines power and efficiency with Wi-Fi and Bluetooth built-in.
- MicroSD Card: Think of this as your Pi’s memory bank. Opt for at least 32GB to house your operating system and store automation scripts.
- Power Supply: A reliable power source is non-negotiable. Look for a 5V/3A adapter to keep things running smoothly.
Accessories That Make Magic Happen
Let’s not forget the little extras that take your setup to the next level. Want motion detectors? Voice-activated commands? Grab these:
- Sensors: PIR sensors for motion, DHT11 for temperature, or even light sensors for ambiance control.
- Smart Relays: These let you control appliances like lights and fans remotely.
- Case and Cooling Fans: Keep your Pi protected and cool to avoid those dreaded overheats.
Each piece feels like adding another Lego block to create functionality that adapts to your needs!
Step-by-Step Guide to Setting Up Home Automation with Raspberry Pi
Getting Your Raspberry Pi Ready for Smart Home Magic
So, you’ve got your Raspberry Pi, some vision, and the urge to turn your home into a futuristic oasis? Let’s get this setup rolling! First, you’ll want to ensure your Pi is prepped. Start by flashing an operating system like Raspberry Pi OS onto a microSD card. Need a recommendation? Use software like Balena Etcher—it’s as simple as toast popping out of a toaster.
Once that’s installed, boot up your Raspberry Pi, connect it to your Wi-Fi, and don’t forget to update the software (sudo apt update && sudo apt upgrade). This step is the *foundation*—think of it like sharpening your tools before a DIY project.
Now, here’s the fun twist: Install the must-have software. Depending on your automation goals, you might want something like Home Assistant. It’s a powerhouse that acts as the brain of your smart home. Download, install, and let the tinkering begin!
Wiring Up Your Home Automation System
Let’s connect it all together like puzzle pieces falling into place. You’ve got devices, sensors, and lights ready? Follow these steps next:
- Hook up your smart devices (light bulbs, switches, cameras) via hubs or directly using protocols like Zigbee or MQTT.
- Integrate them into Home Assistant following its intuitive UI—it’s surprisingly satisfying watching it all come alive.
- Customize automations: Set triggers like “turn on hallway lights when motion is detected.” Now that’s pure genius engineering at work!
Pro tip: Label everything while setting it up. Trust me, future-you will thank you when troubleshooting a stray bulb at midnight.
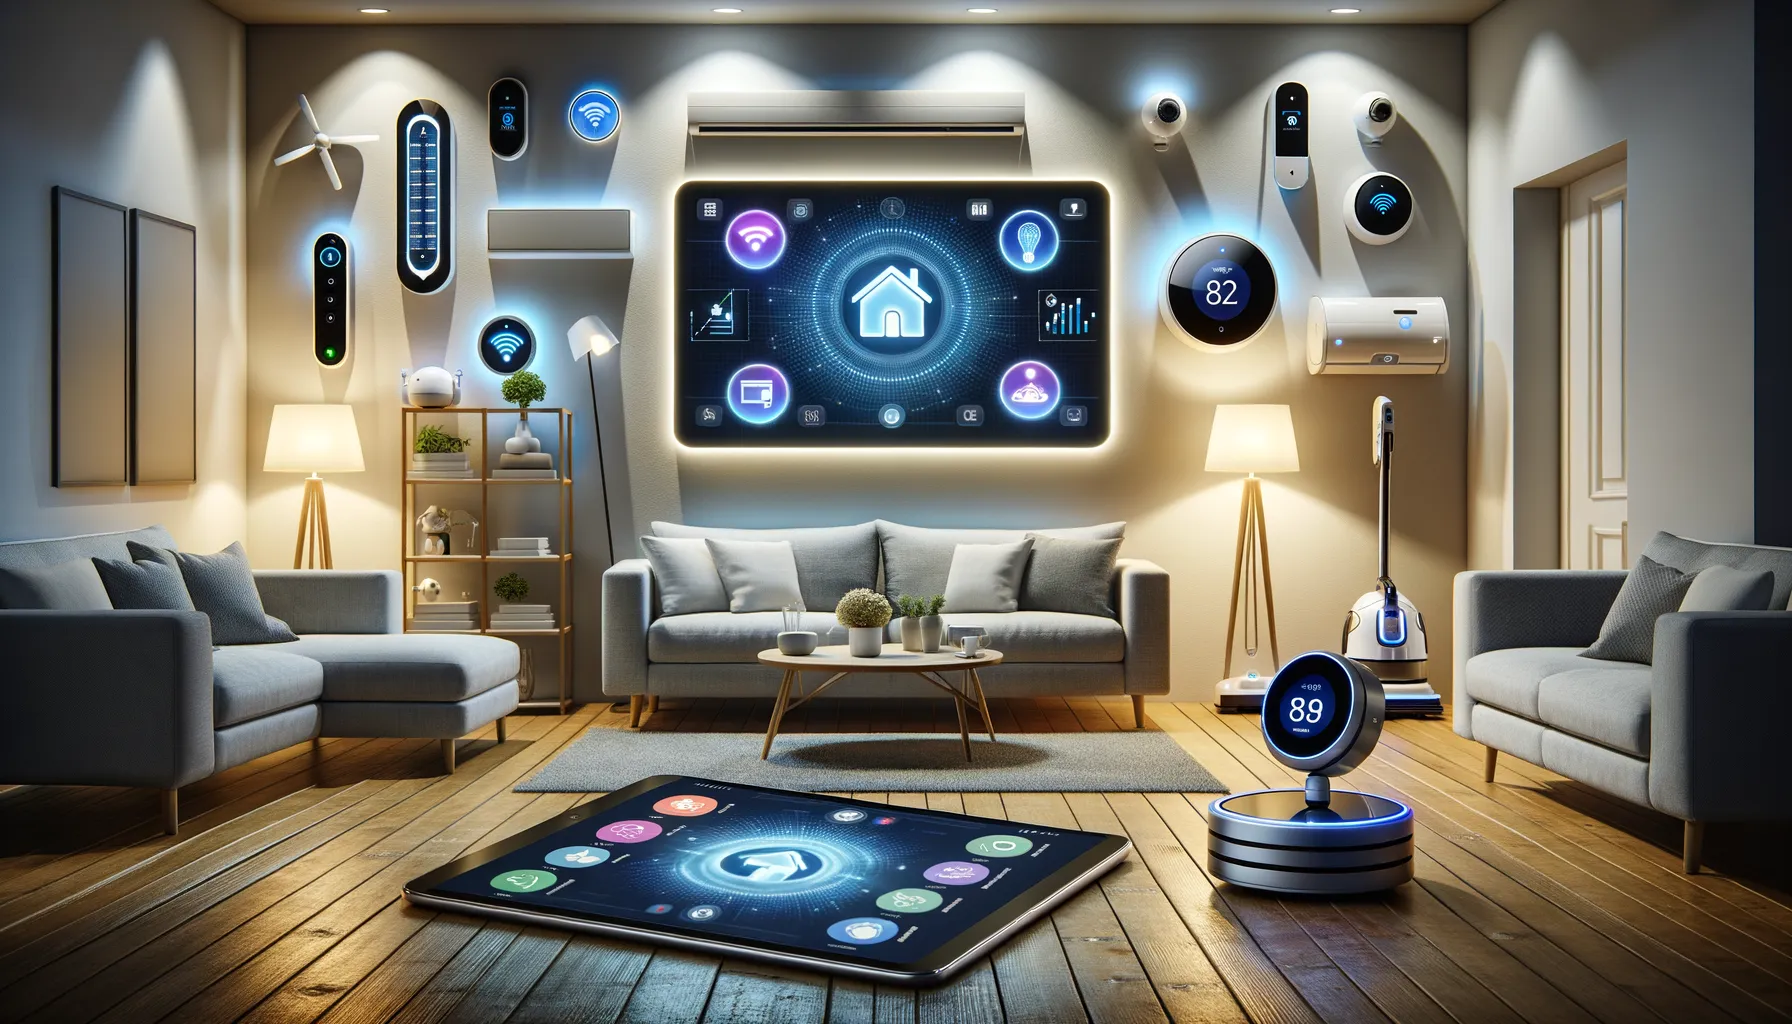
Popular Projects and Applications for Raspberry Pi in Smart Homes

Transforming Your Home with Raspberry Pi Magic
Ever dreamed of a home that feels alive—responding to your whispers, saving you time, and making daily life just a little smoother? With Raspberry Pi, that dream is surprisingly within reach! This tiny computer holds the key to countless smart home possibilities. From practical upgrades to completely whimsical setups, you’re only limited by your imagination (and maybe a few wires).
One incredible project? Building a DIY smart thermostat. Forget about overpriced systems—your Raspberry Pi paired with temperature sensors and relays can control your heating and cooling with precision and intelligence. Don’t stop there: teach it to “learn” your habits using machine learning libraries like TensorFlow Lite!
Or how about boosting home security? With a USB camera and motion detection software, you’ve got yourself a sleek DIY security camera. Bonus points: configure it to send live footage directly to your phone while you’re sipping coffee miles away.
- Voice-controlled light switches? Yes, with Google Assistant integration.
- A personalized media center? Kodi + Raspberry Pi = endless entertainment.
- Automated plant watering system? Your plants will thank you (finally).
Smart homes aren’t just for technophiles or sci-fi fantasies anymore—they’re for anyone willing to get creative with their Raspberry Pi.
Tips and Best Practices for an Efficient Smart Home Setup
Start Small, Think Big
Transforming your house into a dazzlingly efficient smart home doesn’t have to feel overwhelming. Begin with just one or two devices that solve real annoyances in your daily life. For example, a motion-activated light in the hallway might save you from late-night stumbles. Or, use your Raspberry Pi to set up a smart thermostat and finally win the thermostat wars without lifting a finger.
Here’s the magic formula: mold your setup around your unique needs. Will connected blinds make your mornings smoother? Do you want your coffee brewed before you even get out of bed? Identify what matters most—and scale up as you go.
- Test how devices interact before committing to loads of smart gadgets. Play around!
- Keep all updates and firmware current for security and optimal performance.
Don’t Let Your Network Be the Weak Link
Imagine this: Your smart doorbell freezes just as your long-awaited package arrives, or your voice commands lag like a bad Zoom call. A rocky network is often the culprit. Here’s how to fix that:
Upgrade your router if it’s older than your favorite TV show, position it centrally, and opt for dual-band Wi-Fi for better range. Still spotty? Add a mesh system to blanket your entire home in reliable coverage.
Also, remember to name your devices clearly—“Living Room Lamp” beats “Device129827”—so your systems don’t feel like a minefield when you troubleshoot later. Keep it practical, keep it human!